01
Floor Plan Modeling
Turn a floor plan into a 3D model and continue into render viewpoints.
Modeling workspace loading…

Open living and kitchen layout
Choose a plan to preview it, then open the full workspace to edit the model.

 Studio
Upload a plan, site photo, or sketch, then continue into 3D modeling and AI rendering. Keep what works, then refine only the materials or details that need changes.Upload a plan, site photo, or sketch, then continue into 3D modeling and AI rendering. Keep what works, then refine only the materials or details.

Feature Trials
Test modeling, rendering, material edits, and targeted image edits from their dedicated pages.
Turn a floor plan into a 3D model and continue into render viewpoints.
Open living and kitchen layout
Choose a plan to preview it, then open the full workspace to edit the model.
Create proposal-ready interior images from plans, photos, or sketches.

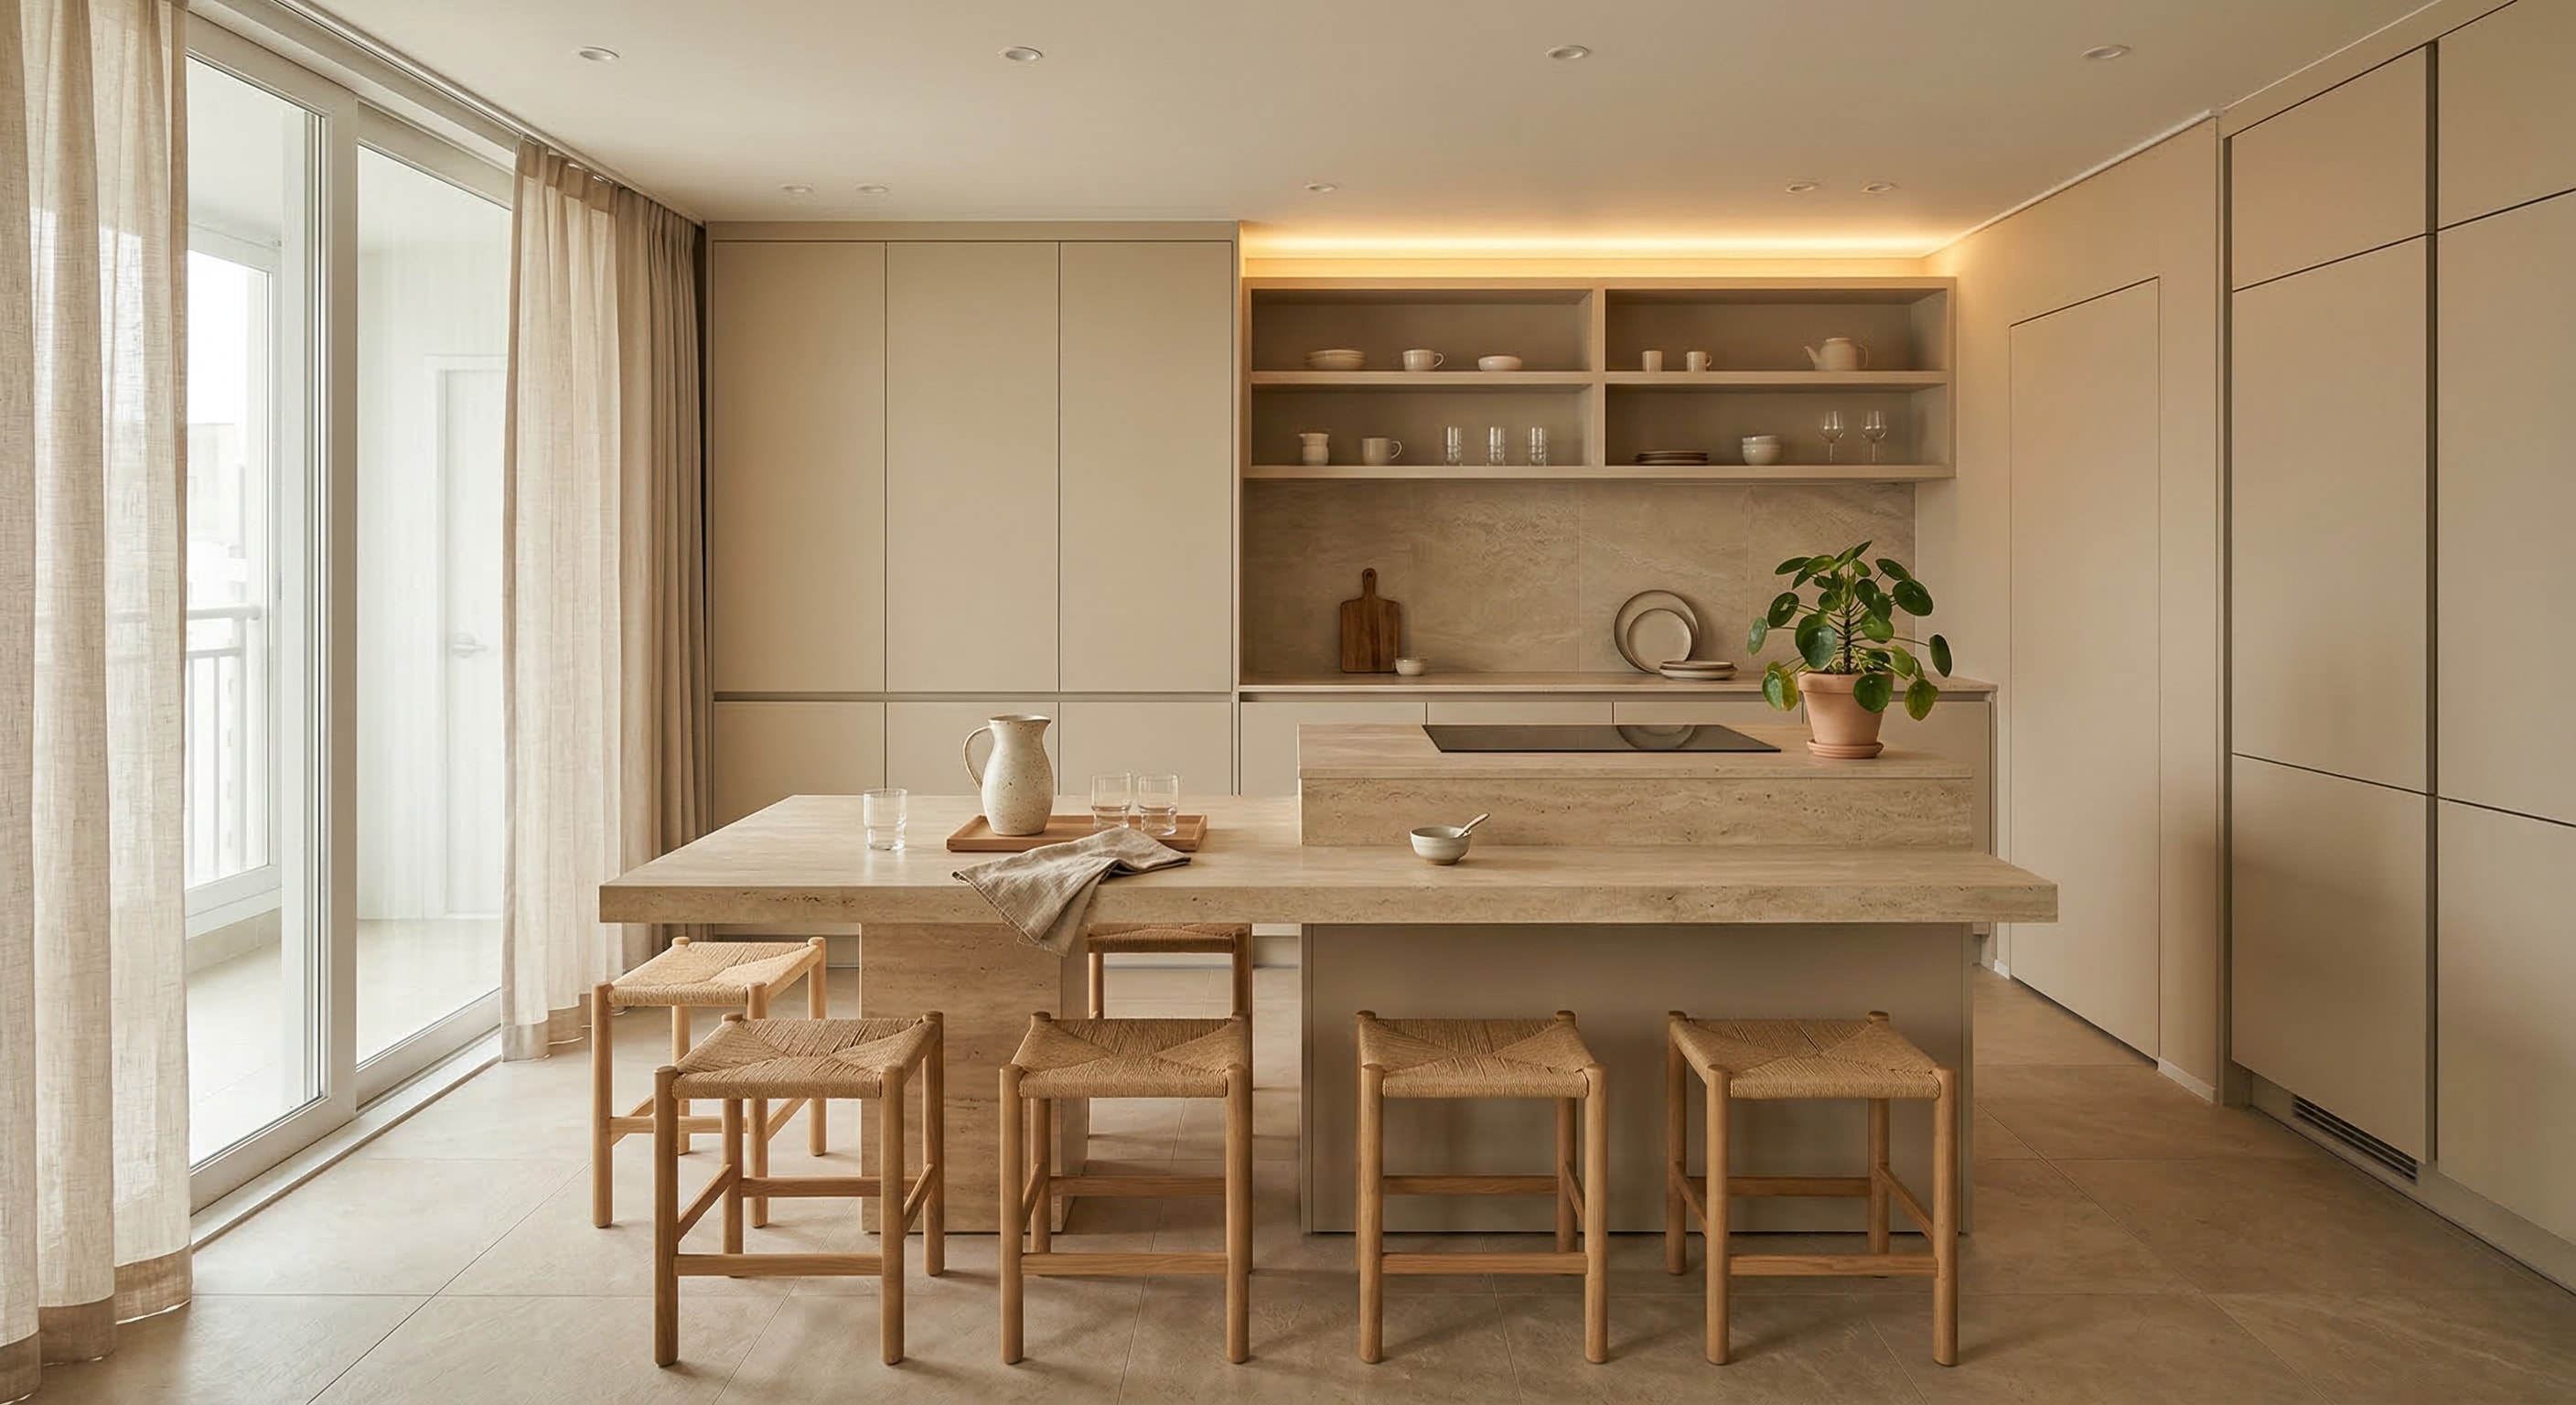
Render prompt
Keep the original camera, walls, windows, doors, and openings, then render a realistic kitchen and dining space with the reference’s warm beige palette and wood cabinetry.

Compare floors, walls, color, and mood without remaking the render.

Drag the slider to compare the same room with only its finishes changed.
Keep what works and refine only the parts that need changes.

Instruction
Add a large mood board with fabric samples and drawings to the blank wall.

How It Works
It does not stop at a quick concept image. Continue into modeling, rendering, edits, and saved outputs.
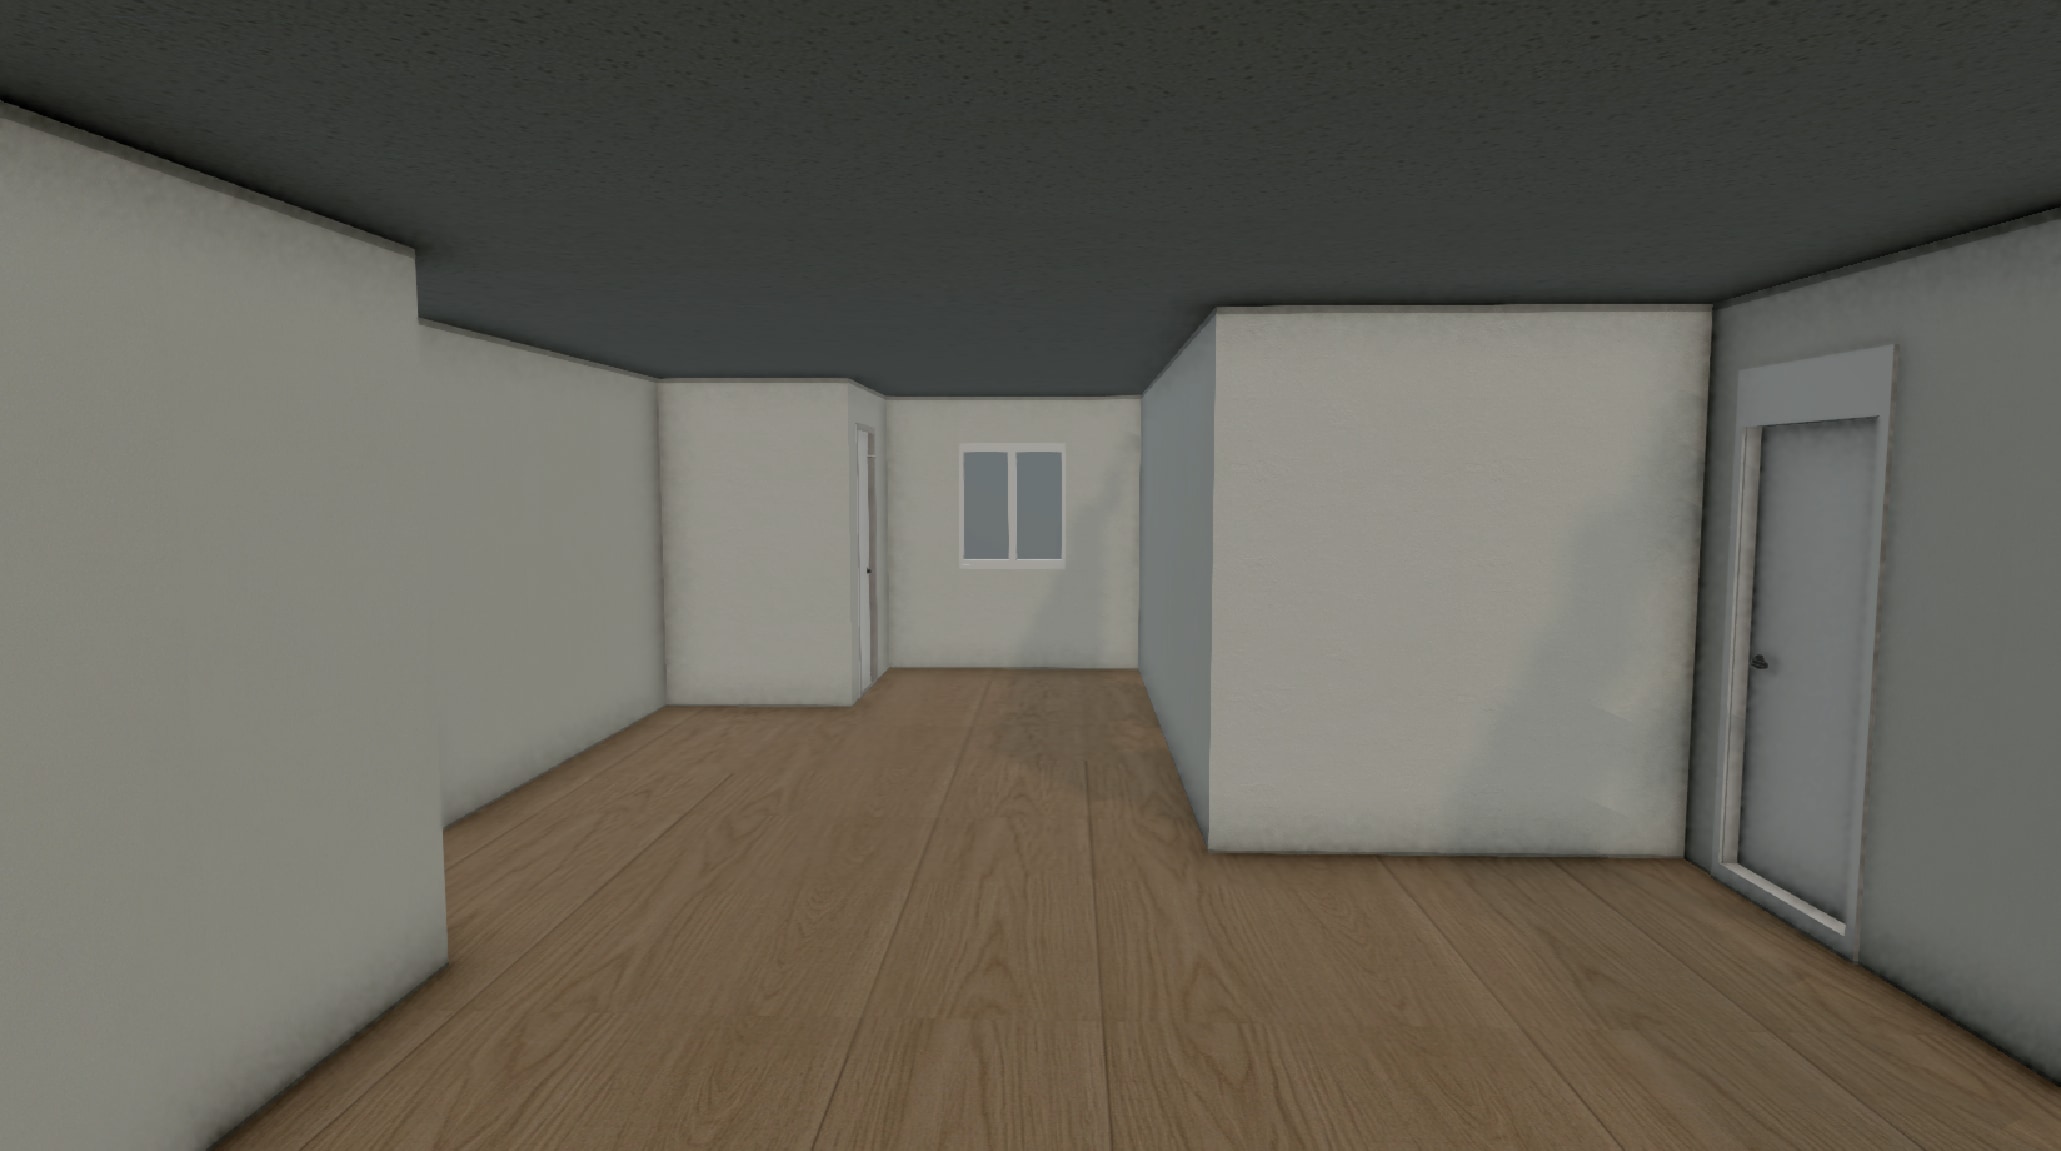
01
Upload a floor plan, site photo, or sketch as the working reference.
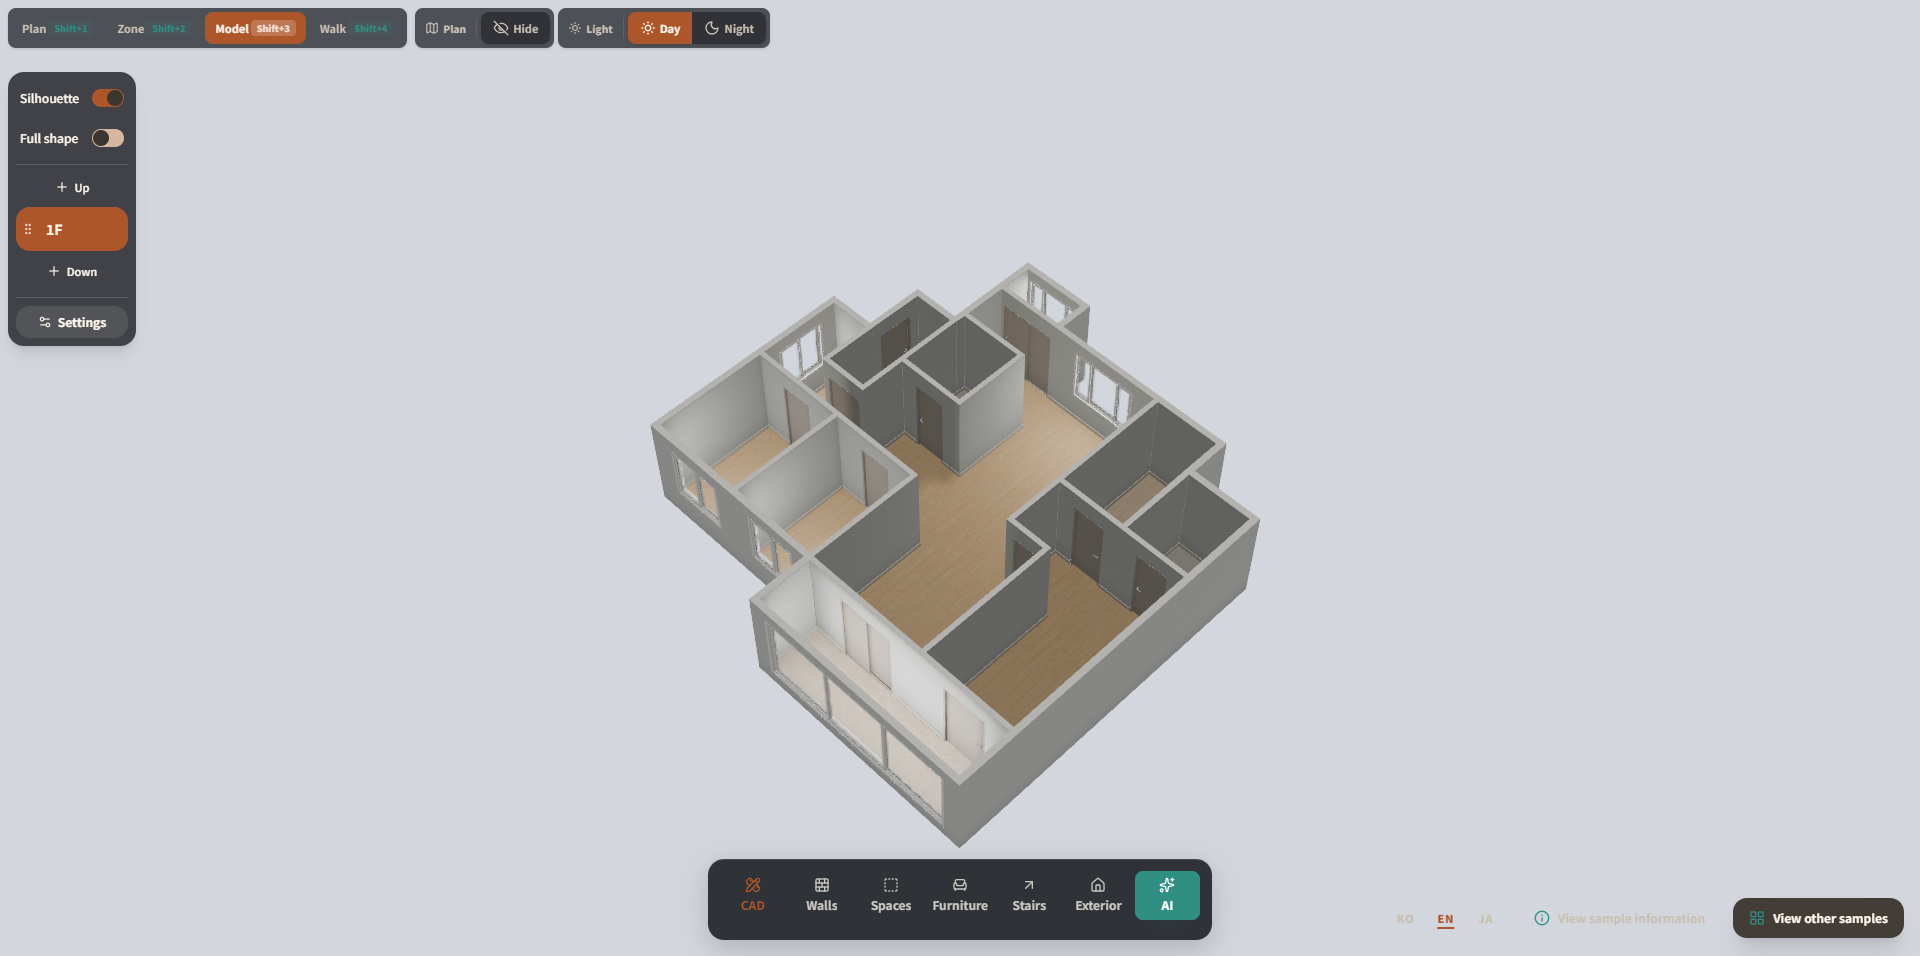
02
Build a draft 3D model, continue in professional tools, or render from the view you need.
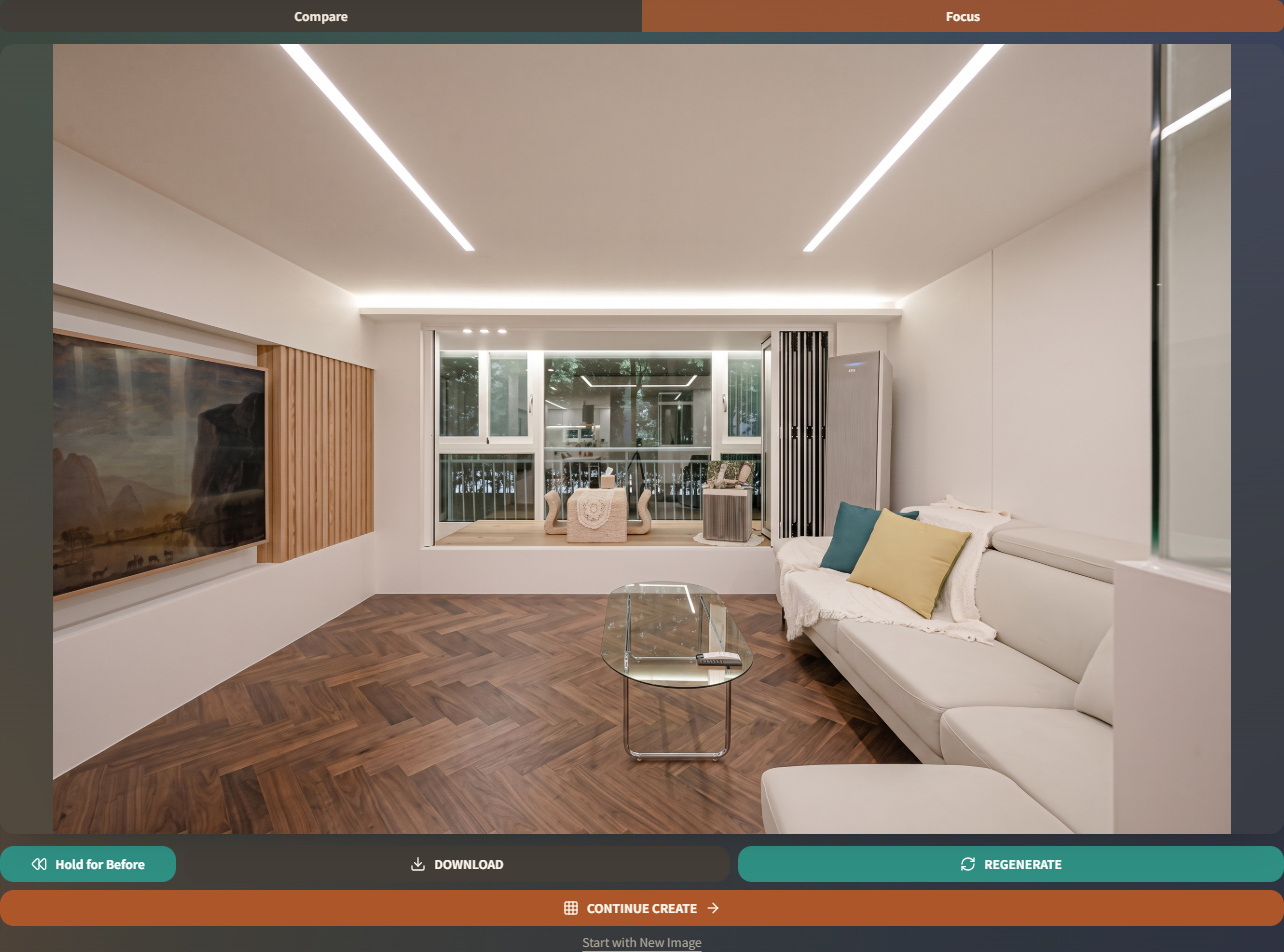
03
Refine mood, materials, composition, and local details on top of the result.
Ideate
Build a model from a plan, or create the first space image from text, photo, or sketch.
Turn a floor plan image into a draft 3D model, then continue in professional tools or render views.
Create proposal-ready interior images while keeping the plan, photo, or sketch composition.
Refine
Adjust only the parts that need another pass, from mood and materials to objects and camera view.
Compare a different impression of the same space by changing time, weather, or mood.
Compare floor, wall, ceiling, and opening finishes on top of the result.
Edit only the selected object or texture area.
Adjust view, lens, and framing to find a better composition.
Turn a 2D floor plan into a dimensional isometric image.

Finalize
Increase resolution, convert renders into drawing outputs, or continue modeling files in CAD and SketchUp.
Increase result resolution and detail for presentation or handoff.
Extract floor plan, section, and elevation-style outputs from a rendered image.
Export modeling results as DXF, DAE, or GLB and continue in CAD or SketchUp.

Assets
Keep active jobs and saved results together, then continue into the next edit or tool.
Check credits and recent results, then return to the production flow you need.
Review other work while a job runs, then continue from the completed result.
Review saved renders and generated results, then continue into the next edit.

Pricing
FAQ
